[Solved] Install Mac OS X Mavericks 10.9.1 On Asus A46C / A46CM / K46CM [Hackintosh]
Hi All people and students in the worlds, after we finishing to install Mac OS X Lion 10.8.2 On my Notebook Asus A46C / A46CM / K46CM, so at this point we also have done / completed install Mac OS X 10.9.1 Mavericks On Asus A46C / A46CM / K46CM. Step by step installation is very easy and simple, and we do this on the sidelines of free time and vacation time at Indonesia Country at “Kota Dingin (Ongis Nade) City”. Here’s a tutorials “[Solved] Tutorial Install Mac OS X Mavericks 10.9.1 On Asus A46C / A46CM / K46CM [Hackintosh]” from us and hope this can be useful for all. 😀
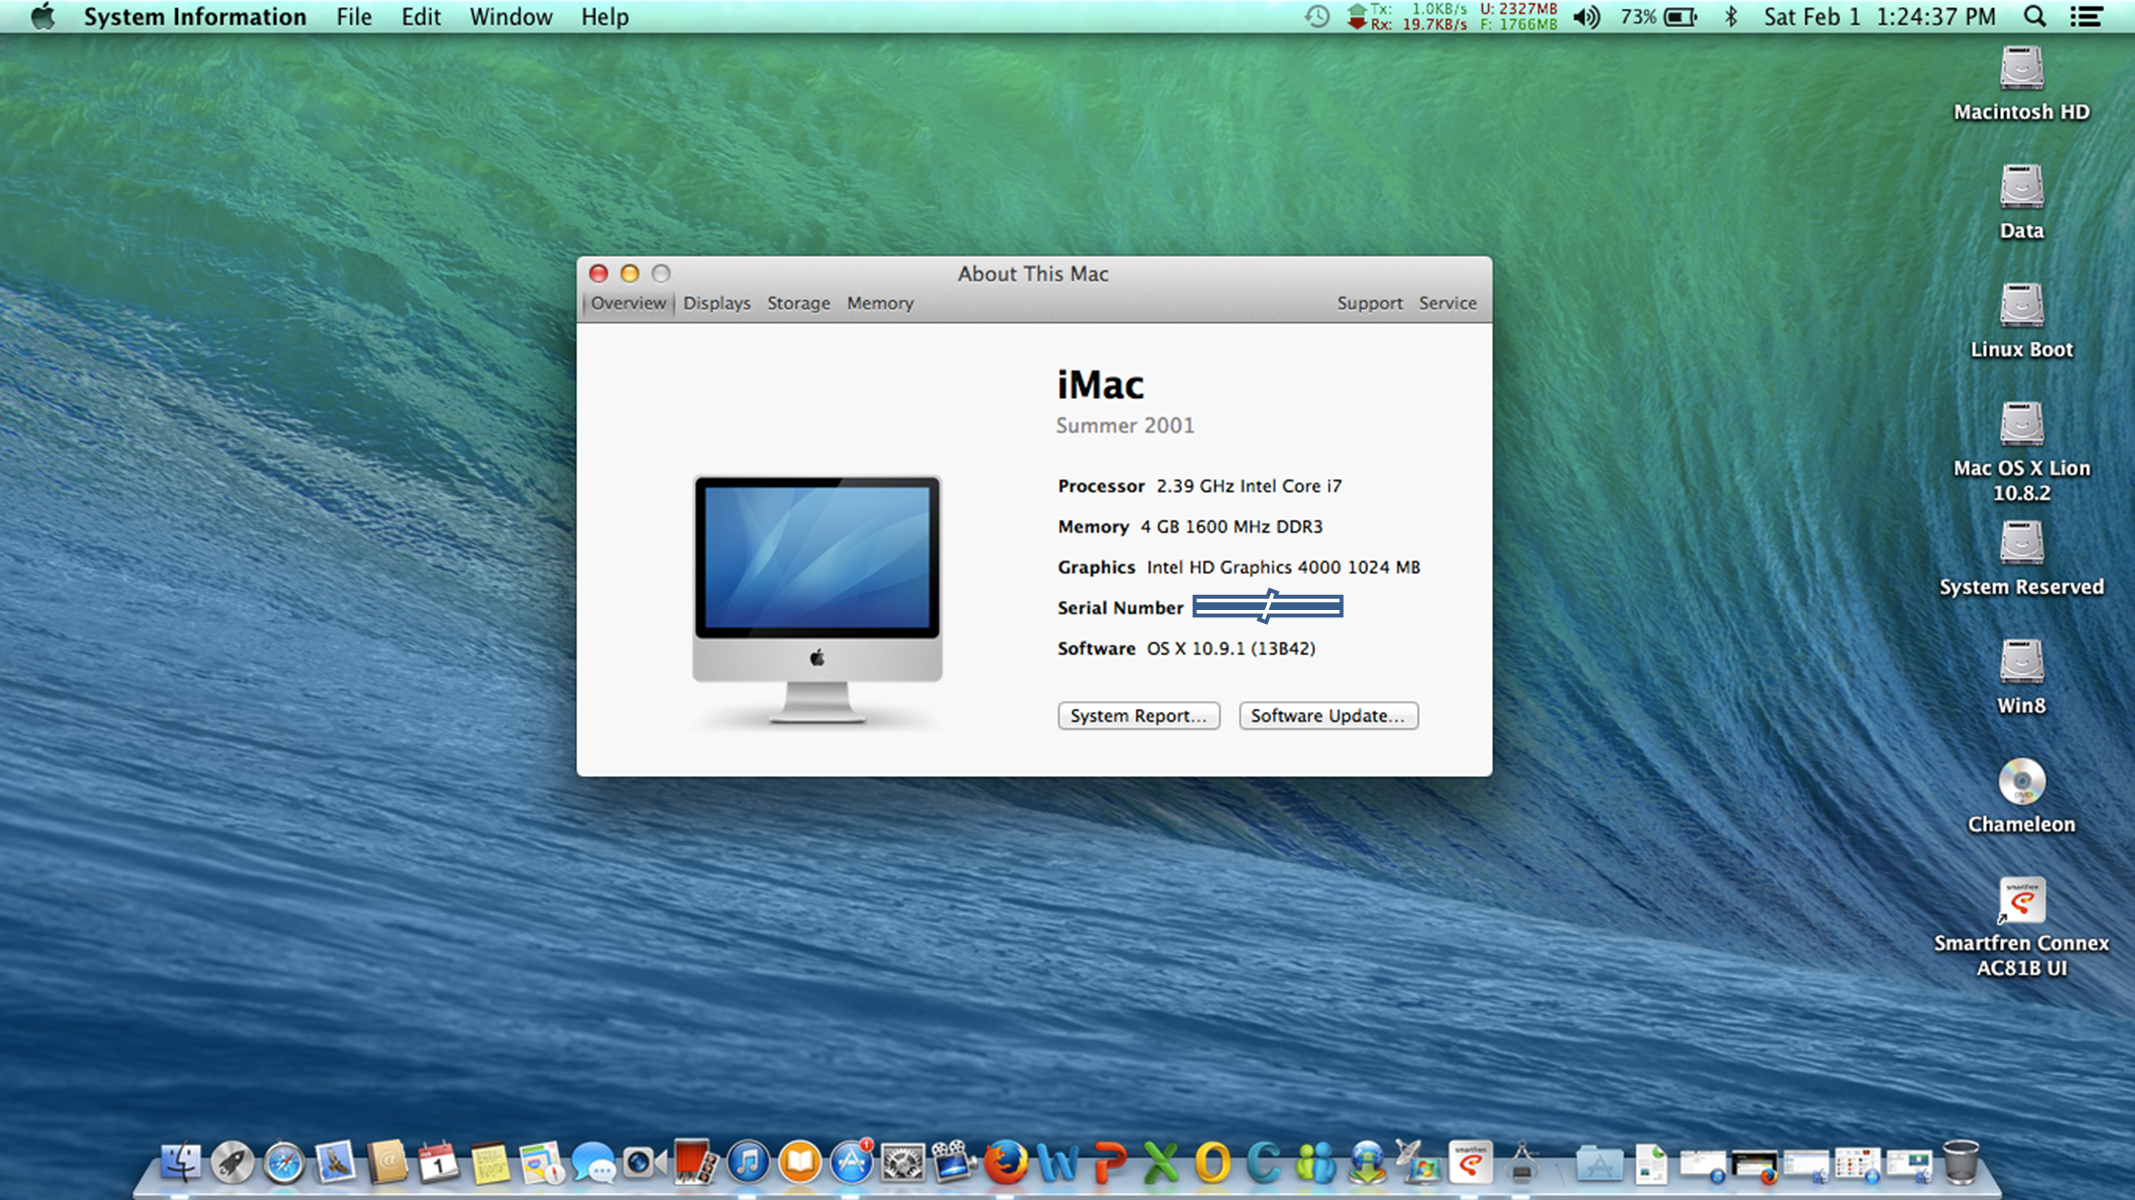
Screen Shot About This Mac 10.9.1 On Asus A46C II_
[Solved] Tutorial Install Mac OS X Mavericks 10.9.1 On Asus A46C / A46CM / K46CM [Hackintosh] :
( For the early time, you must prepare / utilize a “Wireless USB Mouse”. 😀 )
- Step 1st till step 3th it’s as same like on tutorial “ b. Trick Install Mac OS X Lion 10.8.2 On Asus A46C / A46CM / K46CM [Hackintosh] at [Solved] Install Mac OS X Lion 10.8.2 On Asus A46C / A46CM / K46CM [Hackintosh]”.
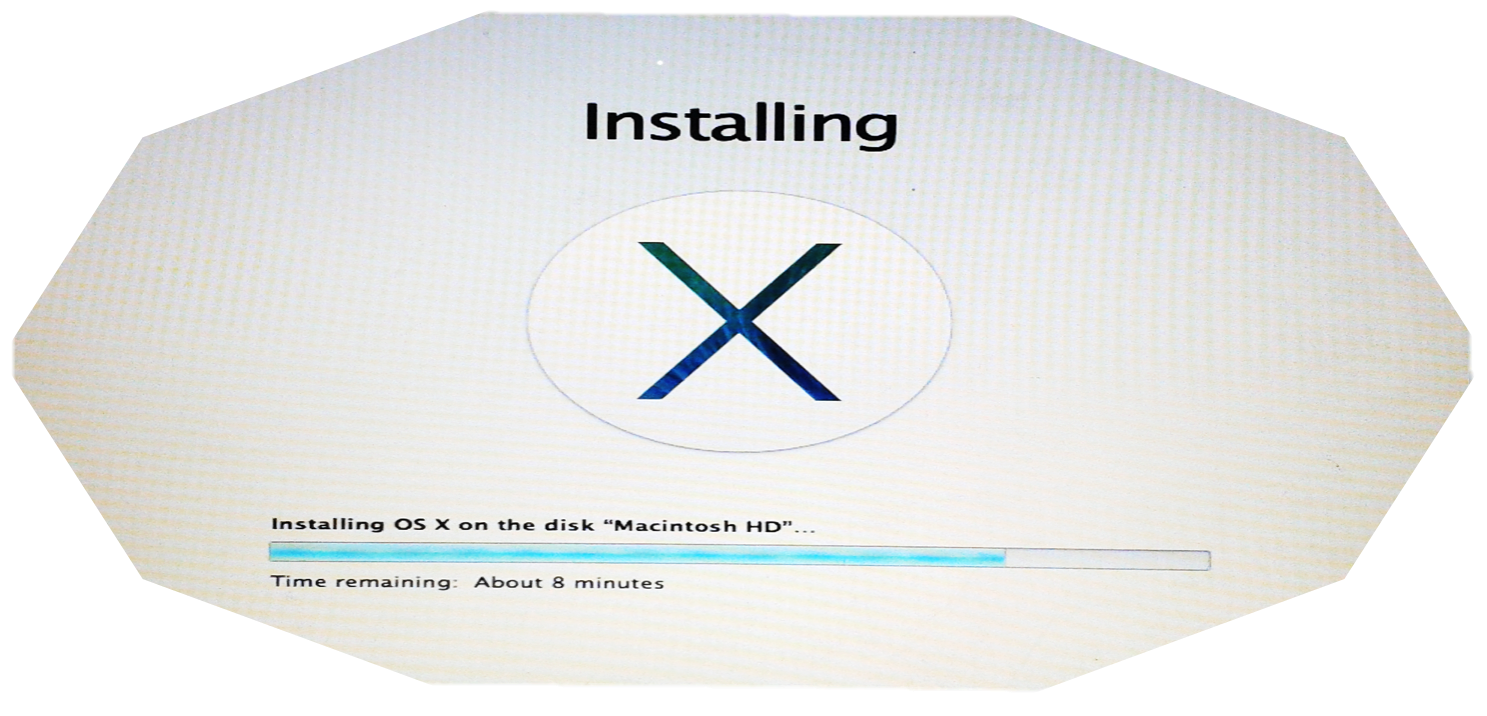
- After you create USB Flash Disk / Drive of OS X 10.9.1 Install “myHack 3.3.1.dmg + Install OS X Mavericks”. May be in installation process, you can’t install with warning error “The OS installation couldn’t be completed”, Like This (I’m take picture from my phone, sorry if it’s not good brightness for eyes. 😀 ) :

The OS installation couldn’t be completed On Mac OS X Mavericks 10.9.1
but it’s okey, try using bootflag “-v –x GraphicsEnabler=No” (Without quote sign).
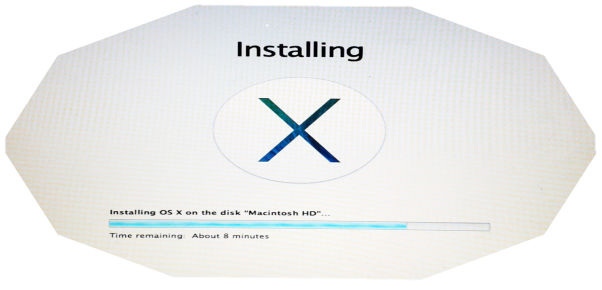
Installing Mac OS X Mavericks 10.9.1 on the disk
Wait for few minutes to finishing installation Mac OS X Mavericks 10.9.1, then boot using flag “-v –x GraphicsEnabler=No” (Without quote sign).
- Then create user & password to login on Mac OS X Mavericks 10.9.1.
- Delete all file with prefix “NV” kext on (S/L/E/NV…..kext) or (S/L/E/ATI…..kext) or (S/L/E/Geforce…..kext) or (S/L/E/AMDRadeon…..kext) or (System/Library/Extensions/NV…..kext) .
- Then login using this bootflag (It’s not stuck, wait -+ 10 minutes) :
>> -v GraphicsEnabler=No
or
>> -v –f GraphicsEnabler=No
or
>> -v –f
or
>> -fNote : -f to solved problem like this :
![Error or Stuck On [IOBluetoothHCIController] protectedBluetoothHCIControllerTransportShowUp flow divert kctl disconnect (0)](https://distromac.wordpress.com/wp-content/uploads/2014/02/error-or-stuck-on-iobluetoothhcicontroller-protectedbluetoothhcicontrollertransportshowup-flow-divert-kctl-disconnect-0.png?w=604&h=296)
Error or Stuck On [IOBluetoothHCIController] protectedBluetoothHCIControllerTransportShowUp flow divert kctl disconnect (0)
Solved 1, “[IOBluetoothHCIController][protectedBluetoothHCIControllerTransportShowUp] – Connected to the transport successfully – 0x2240 — ….. **** ”.
Solved 2, “flow divert kctl disconnect (0): disconnecting group 1”. - After you login, may be you audio and VGA not working. To solved this, try to install with “Kext Helper b7” this file all (One by one or “drag and drop all kext files”) :
>> AppleACPIPlatform.kext
>> AppleHDA.kext
>> AppleIntelCPUPowerManagement.kext
>> ApplePS2Controller.kext
>> ApplePS2ElanTouchpad.kext
>> ar9285.pkg (Install without “Kext Helper b7”, it’s only use double click).
>> AsusNBWMI.kext
>> DisableTurboBoostBattery.kext
>> RealtekR1000SL.kext
>> VoodooHDA-v2.8.4.pkg (Install without “Kext Helper b7”, it’s only use double click).
>> SleepEnabler.kext
>> GenericUSBXHCI.kext
>> ACPIBatteryManager.kextThen delete folder “Extra” on Local Drive Mac OS X, then copy folder “Extra” from our blog, copy on your Local Drive Mac OS X. Link Download All File kext & folder “Extra” On link Here :
<<To Upload Tutorial 10.9.1 on distroMac [Solved].zip>>
Size : 46.2 MB
Hint : “After Download it, To Extract File (To Upload Tutorial 10.9.1 on distroMac [Solved].zip), you must Rename Extension *.doc to *.zip”
 .
. - Then login again using this bootflag (It’s not stuck, wait -+ 10 minutes) :
>> -v GraphicsEnabler=No
or
>> -v –f GraphicsEnabler=No
or
>> -v –f
or
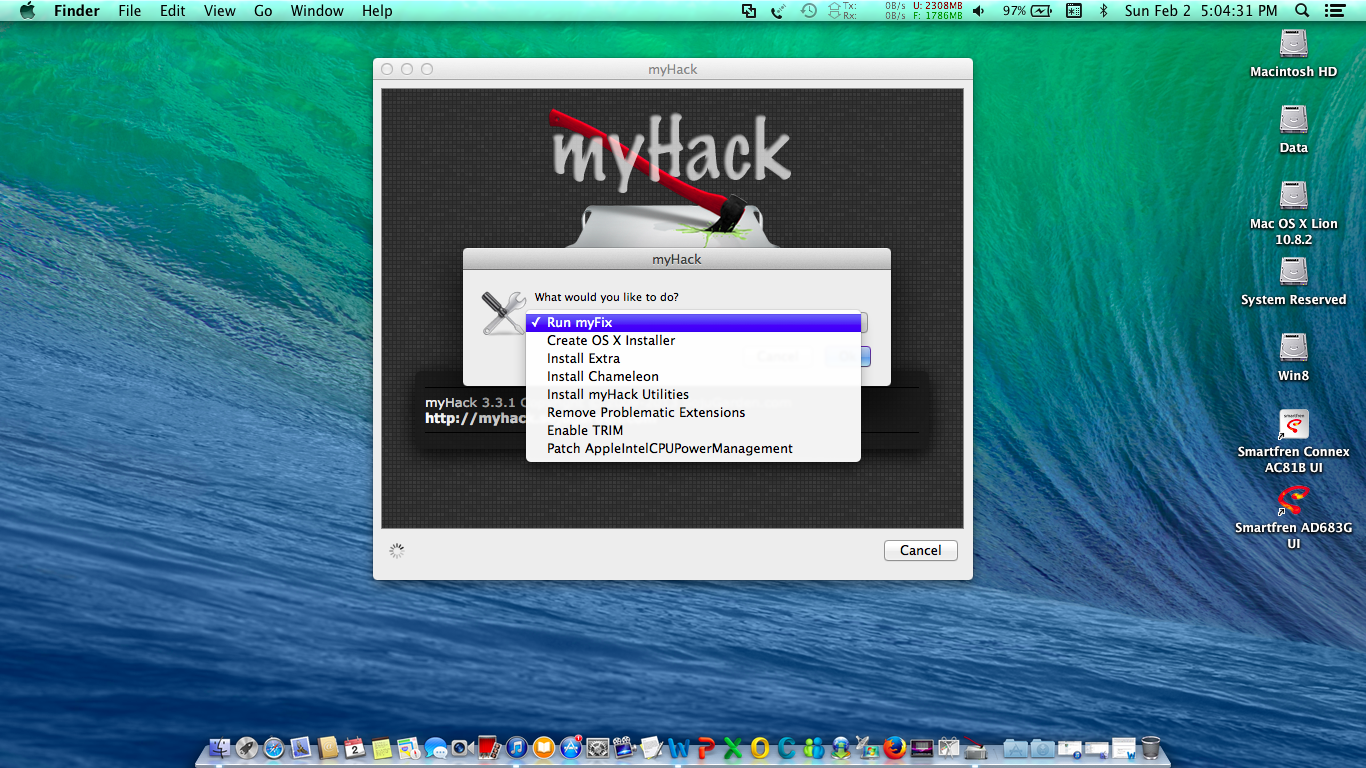
>> -f - To enable boot without boot flag anything, try to install from run “Applications/myHack”.
>> Run myFix
Run myHack I (Enter sudo password)
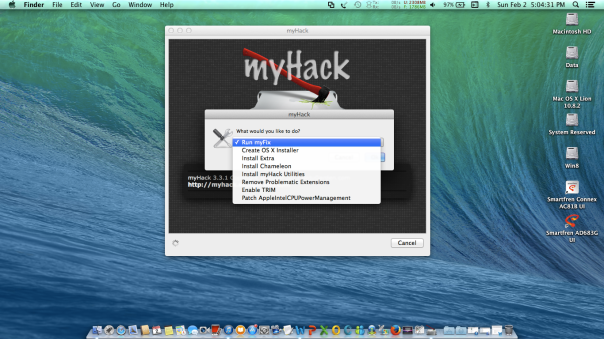
Run myHack II (What would you like to do)
Select target volume to run myhack on ..
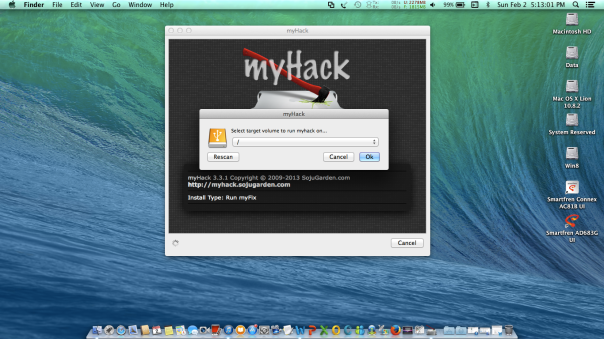
Run myHack III (Select target volume to run myhack on current drive Mac)
Then click “ok”.
>> Install Chameleon
>> Install myHack Utilities
>> Remove Problematic Extensions.
(If you want get 3 question “do you want to remove …. .kext”, please always click “No” Button).
>> Enable TRIM
>> Patch AppleIntelCPUPowerManagement - Boot again with this bootflag :
>> -v
or
without bootflag. Enjoy. 😀 - Finish.

![Error or Stuck On [IOBluetoothHCIController] protectedBluetoothHCIControllerTransportShowUp flow divert kctl disconnect (0)](https://distromac.wordpress.com/wp-content/uploads/2014/02/error-or-stuck-on-iobluetoothhcicontroller-protectedbluetoothhcicontrollertransportshowup-flow-divert-kctl-disconnect-0.png)


By DistroMac
Big Thanks to :
http://www.osx86.net/files/download/3724-osinstallmbrosinstallmpkg-109x/
http://myhack.sojugarden.com/
Preview 1 :

Screen Shot About This Mac 10.9.1 On Asus A46C
Preview 2 :

Enter Time Machine On Mac OS X 10.9.1 On Asus A46C I
Preview 3 :
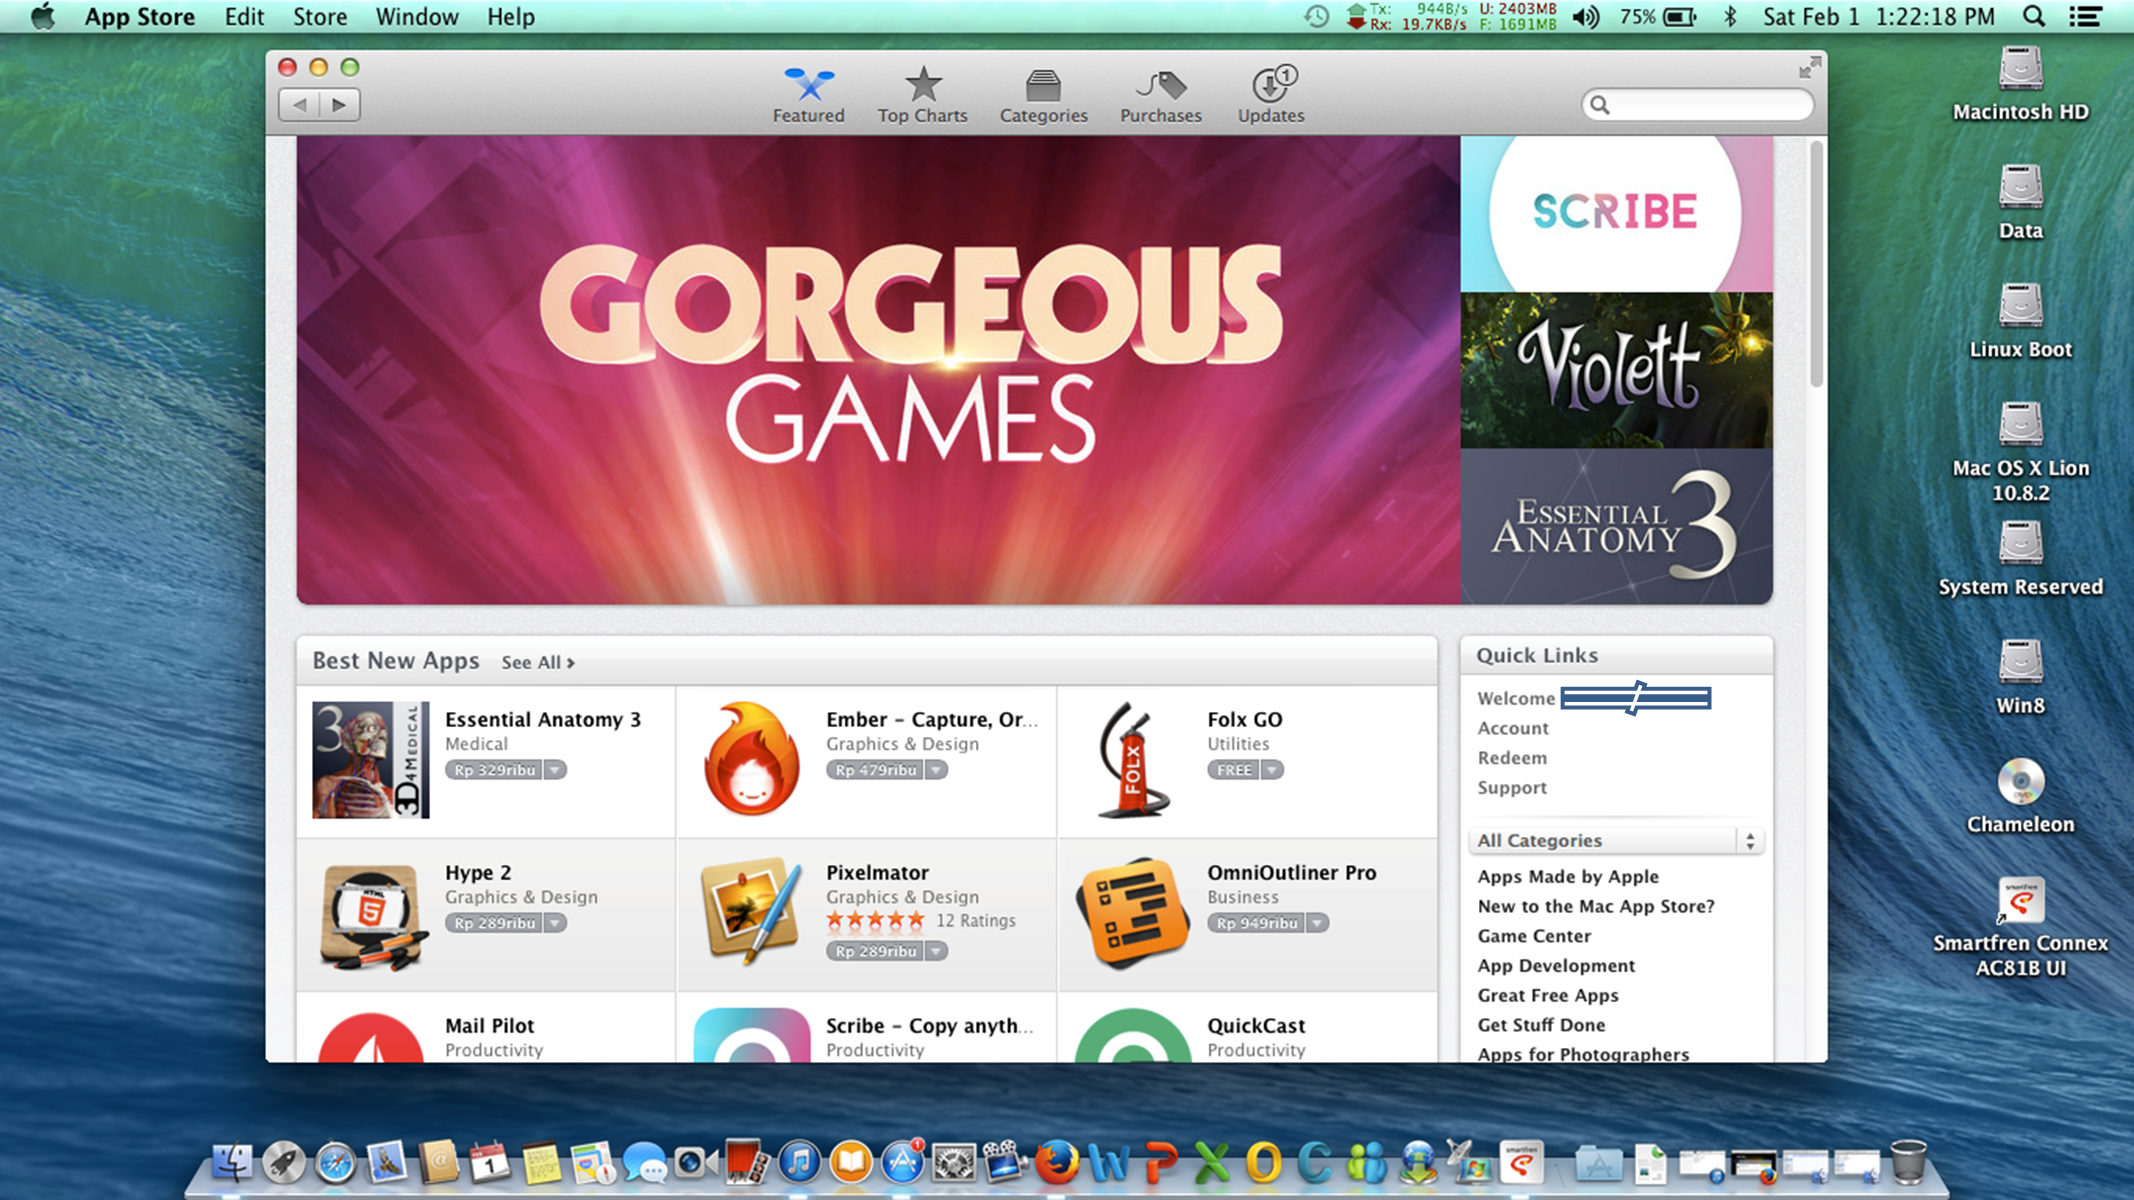
Screen Shot App Store Mac 10.9.1 On Asus A46C _
Preview 4 :

Backup Time Machine On Mac OS X 10.9.1 On Asus A46C I
Posted on February 3, 2014, in Hackintosh, Mac OS X Mavericks 10.9.x, Software and tagged Hackintosh, Mac OS X Mavericks 10.9.1 On Asus A46C, Mac OS X Mavericks 10.9.1 On Asus A46CM, Mac OS X Mavericks 10.9.1 On Asus K46CM, Mac Tools, myHack, Software, Upgrade Mac OS X, USB Flash Drive, USB Installer Mac OS X 10.9.1. Bookmark the permalink. 12 Comments.


nggak ada bahasa indonesianya apa nih? :v
Hi Muhammad Shidiq,
English please. 😀
-Regards-
Admin DistroMac
hey, thanks for the tutorial. I really wanna try this on my asus a46cm core i5. is there any differences in kext/settings/anything from i7 and i5 ?
Hi diazdiandra,
Please try to installation, then ask if there is trouble in your experiment. We only tested on Asus a46c i7, but our analysis, the technique, setting and kext file can be applied to most non-apple computers, especially for Asus Netbook.
-Best Regards-
Admin DistroMac
Hey ive tried your tutorial. But i still cant get into installation. Ive tried the bootflag (-v -x GraphicsEnabler=No) but still, i got the “The os x installation couldn’t be completed”. Any suggestion?
Thanks
Hi Diaz Eiandra,
Please try utilze combination few bootflag = {“-v”, “-x”, “-f”, “GraphicsEnabler=No”, “npci=0×2000”, “cpus=1”, “PCIRootUID=0”}.
We hope this has been helpful for you. 😀
Note : If you have still get any error, please send again to our blog.
-Best Regards-
Admin DistroMac
I made through the installation. The source of problem is in the mbr patch on hackmac app. So i googled about how to solve it.
Hi diazdiandra,
The standard solution is get mbr patch that match with version like this :
=============================================================================
….. After create bootable USB with “myHack”, follow this step below :
>> OSInstall.mpkg replace to
/System/Installation/Packages/OSInstall.mpkg
>> OSInstall replace to
/System/Library/PrivateFrameworks/Install.framework/Frameworks/OSInstall.framework/Versions/A/OSInstall
source link : “http://www.osx86.net/files/file/1129-osinstallmbrosinstallmpkg-108x/”. Thanks osx86.net
Note : This is to enable install bootable USB from “myHack” to MBR partition on Windows OS. So don’t need using GTP (GUID Table Partition).
Or you can try other way like this :
======================================
1. Provide 2 USB Flash Disk Drive (FDD). (Recommendation use capacity @FDD “Greater Than or Equal To” 8 GB)
2. First FDD as installers, second as FDD drive (utilize GUID Partition) which would you install Mac OS. This method does not require such as patch mbr, Even though you use partition among the Windows OS partition.
3. After finishing installation, then boot use second FDD that already installed Mac OS, then do a restore using the “Disk Utility”, source from “second FDD” destination to your “Existing HDD drive” on your Netbook/ Personal Computer (PC).
4. Enjoy. 🙂
-Best Regards-
Admin DistroMac
keren bro..sesama nak malang..salam hackintosh..
Hi Naffaum Yota,
Yes, English please. 😀
-Regards-
Admin DistroMac
I already installed it. And it can only do safe mode, I cant run myhack in safe mode. I already deleted all the NV kexts. And if I use -v and graphicsenabler=no, I’ll get stuck on “system uptime in nanoseconds: …” if I use -v -f graphicsenabler=no, I’ll get stuck on “IOBluetoothHCI….. connected to the transport successfully” PLEASE HELP!!!!!
Hi martinusteguh,
You almost 100% finish the instalation Mac OS X Mavericks 10.9.1 on your Asus Netbook. Don’t just only delete NV kext, please delete all file with prefix “NV” kext on (S/L/E/NV…..kext) or (S/L/E/ATI…..kext) or (S/L/E/Geforce…..kext) or (S/L/E/AMDRadeon…..kext) or (System/Library/Extensions/NV…..kext). Then try again using few boot flag like this (It’s not stuck, wait -+ 10 minutes) :
>> -v GraphicsEnabler=No
or
>> -v –f GraphicsEnabler=No
or
>> -v –f
or
>> -f
-Warm Regards-
Admin DistroMac